

How To Change The Background Color On Gimp

Introduction to GIMP Modify Groundwork Colour
In this article, we are going to learn how to change the background colour in GIMP. At that place are many reasons why you need to change the groundwork. As if you lot desire to have a discipline and put it in another epitome or if y'all want to alter the existing natural background to something more graphic or vector blazon of background. The main thing while changing the groundwork is to preserve the realism of the paradigm which we will await at in this article of how to reach using a layer mask, cool furnishings, and some tweaks. Some other use of changing the background is to bring more contrast between the subject and the background.
Footstep ane: First nosotros will demand some stock images which yous tin can download from whatsoever stock image sites like Unsplash or pixels.
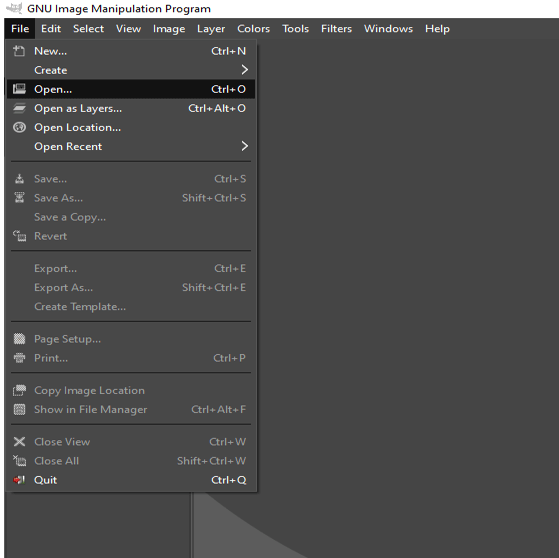
Step 2: Let's start by opening an image by going in the file menu and then open or press Ctrl + O
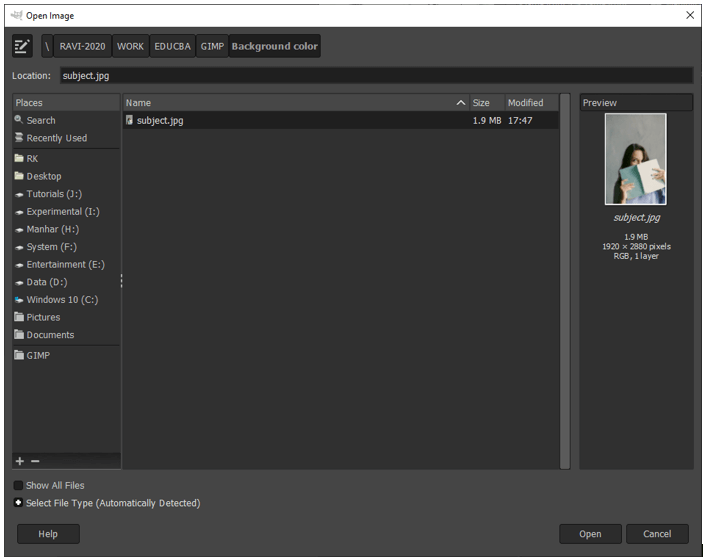
Step 3: Then navigate to the downloaded image and open in GIMP
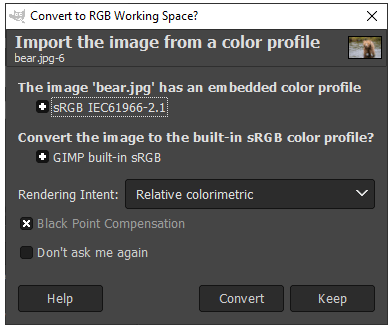
Pace 4: If asked to catechumen to RGB Working space so convert information technology. In this case, this image already has a colour profile embedded in it which volition be mapped to GIMP built-in sRGB space.
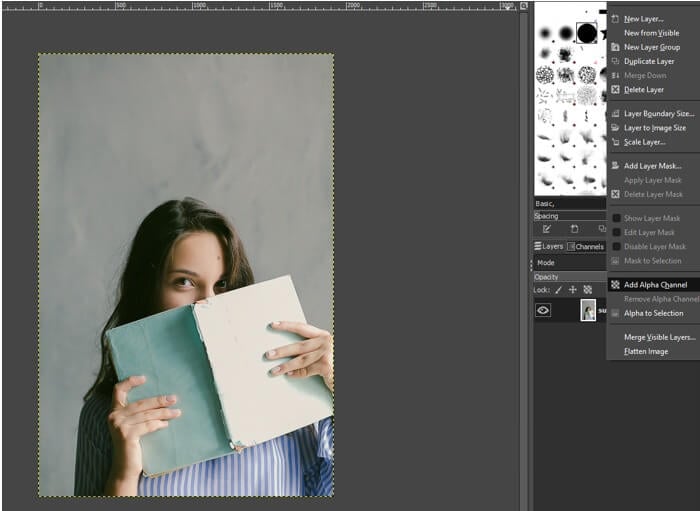
Stride 5: After opening the image what we want to do is to remove the background. For that first, we will add an blastoff channel to add some transparency.
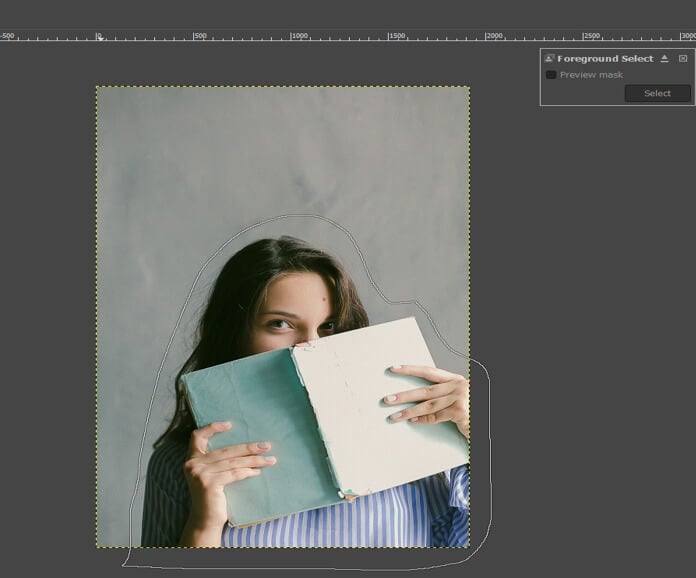
Step 6: And then use the foreground select tool and brand sure plume edges is on with some radius to it which helps the things to blend into one some other. Now make a rough outline of your subject which is our foreground and it will help u.s. to carve up information technology from the background.
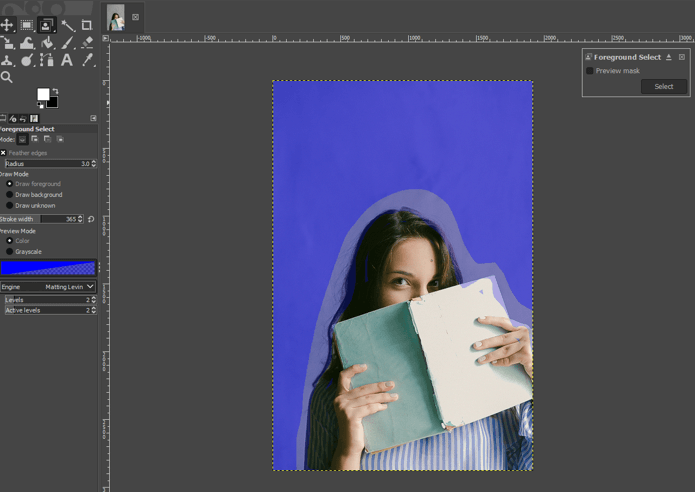
Footstep 7: Now we can change the size of the brush and the draw way to describe foreground. Then roughly draw over on the subject it is non needed to be perfect. If the cartoon is blue so you might have selected the groundwork accidentally so make sure foreground mode is selected. Then make sure that the engine is Mattin Levin and the levels and active levels are prepare as shown and once you are ready hitting the enter key and you volition see the algorithm compute the pixels to separate the foreground from the background.
Pace 8: The algorithm has done a pretty good job but at that place are a few spots we can work on further.
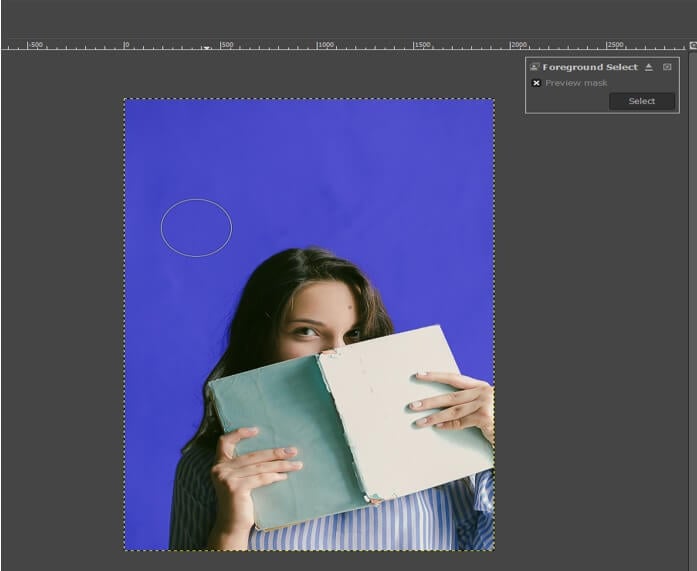
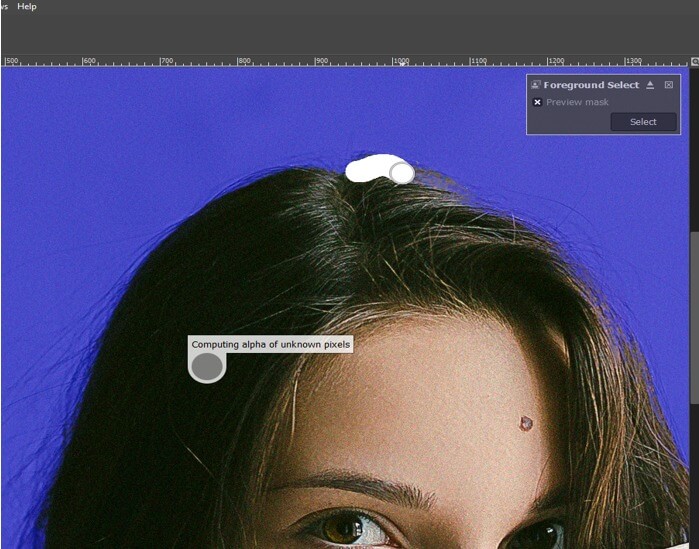
Step 9: You can zoom and draw on the surface area of the subject area which you want to include in the foreground. The option area can be cleaned in the next step and then don't worry to get in perfect. Then hit the enter central to brand the choice.
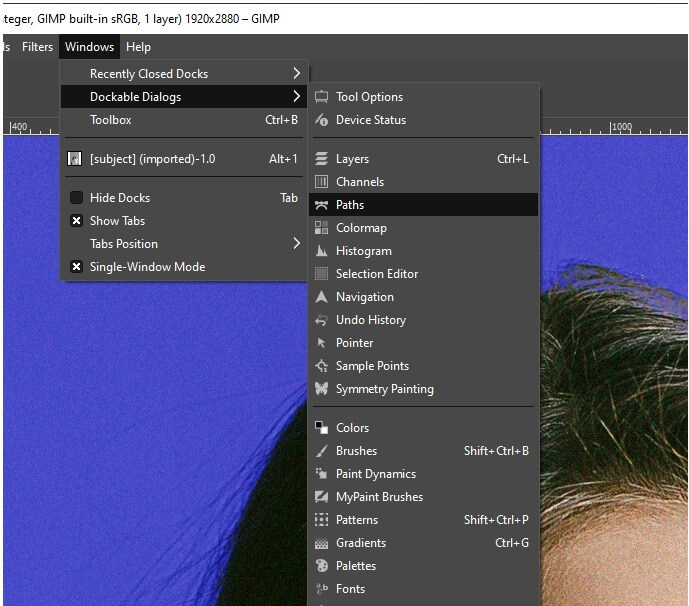
Step 10: At present go to your path panel if it is not open up then open information technology from Windows -> Dockable Dialogs > Paths. Then at that place will be a path to selection push at the bottom of the paths panel and click it to create a path from the selection.
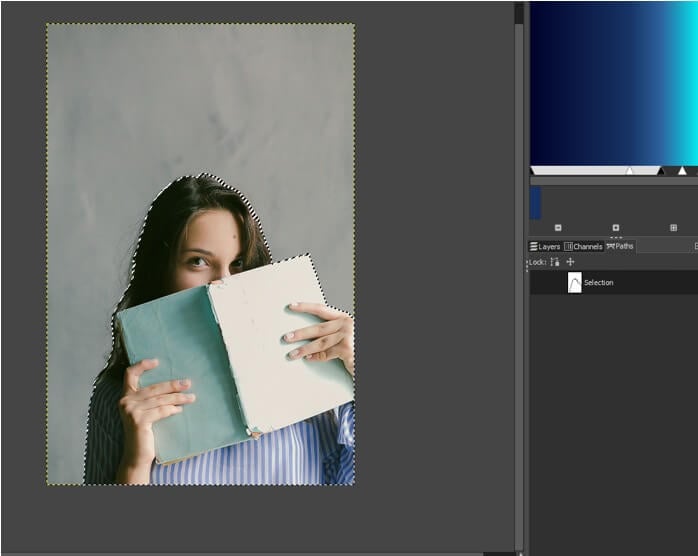
Step 11: Now a selection is made in the path console and then deselect the selection past pressing Ctrl + Shift + A. So make the path visible from the path console so you will be able to select it with path tool.
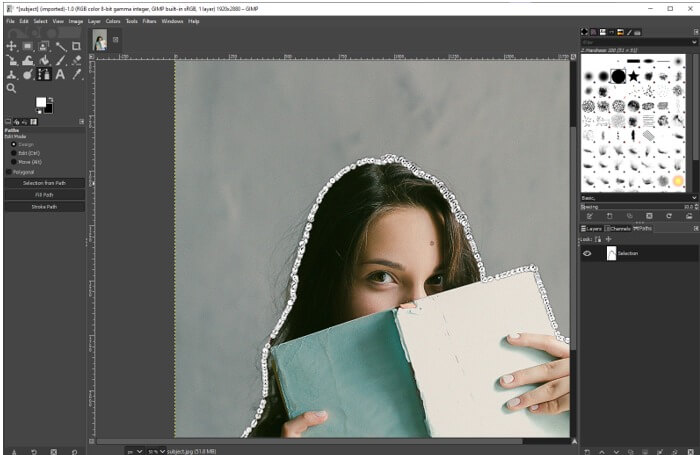
Step 12: Now use path tool or press B and and so select the path which volition exist indicated by the paw icon when hovered in a higher place the selection of path. You lot can see how many nodes it takes for the selection.
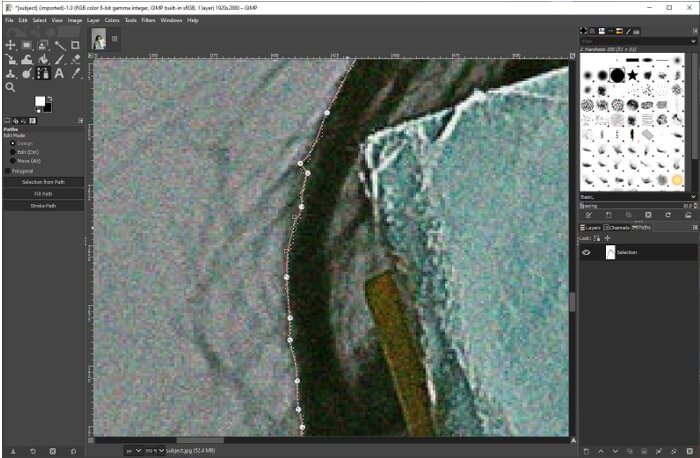
Stride 13: One time the path is selected you can make some fine adjustments by dragging the nodes. If you click ctrl and drag the point it will create a handle. If you click ctrl and click the line segment a node will be created.
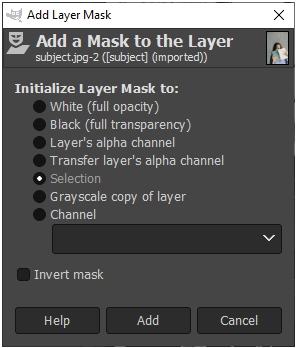
Footstep fourteen: Then add a layer mask.
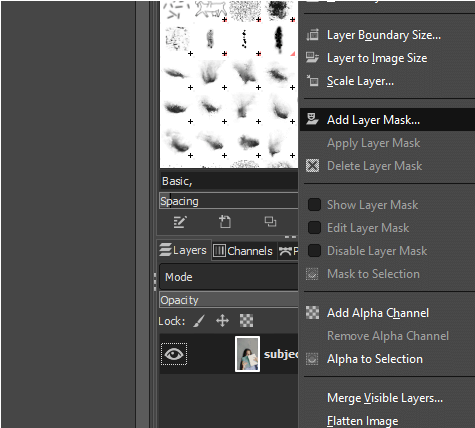
Step fifteen: Initialize information technology to selection and add.
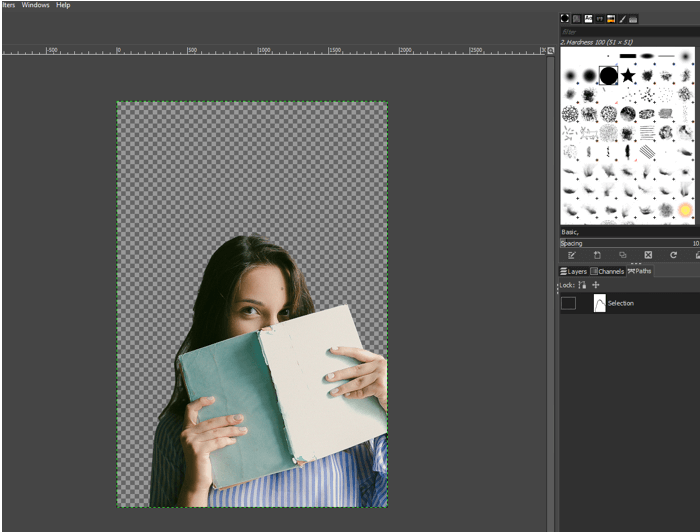
Step 16: At present nosotros tin can hide the path.
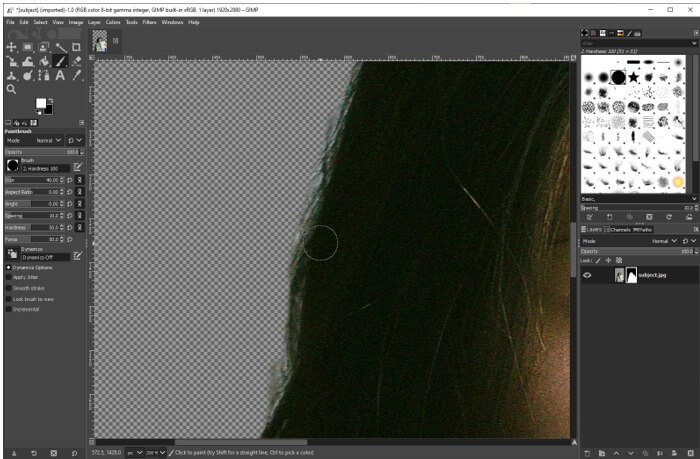
Step 17: So brand sure that the background and foreground color are ready to default values and then paint using the paintbrush tool. Blackness will hide and white volition show. Brand sure to reduce the castor hardness.
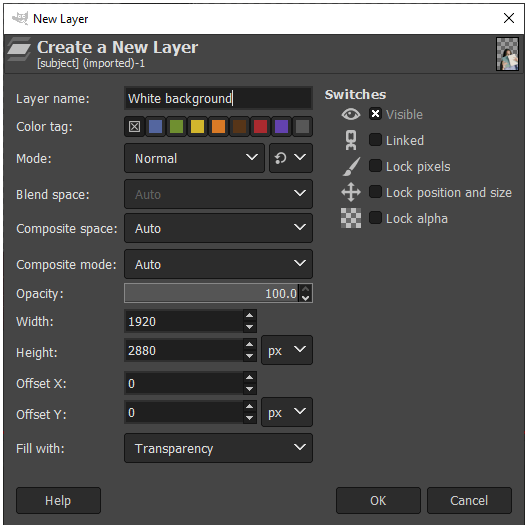
Stride 18: Then we will create a new layer from the layers panel and drag information technology at beneath the starting time layer.
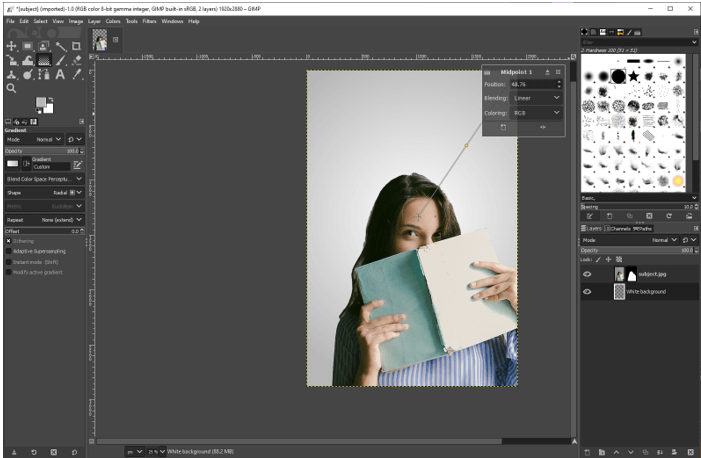
Step 19: So create a radial gradient using any two-color. By using the gradient tool and y'all can besides swap color. Adjust the gradient as yous want.
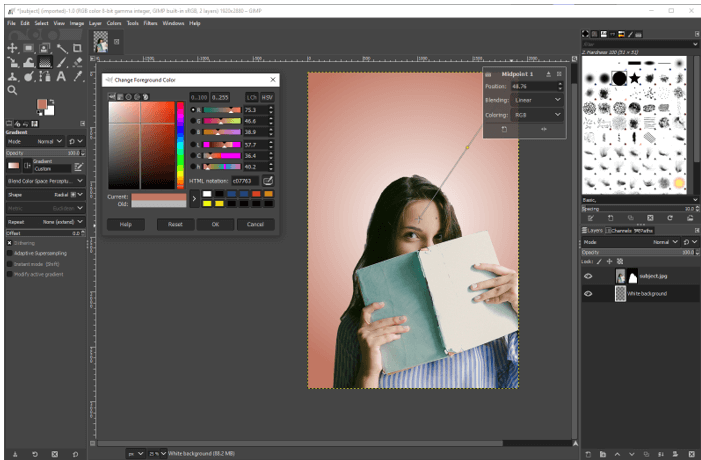
Pace 20: Adjacent we take changed one of the colors in the slope.
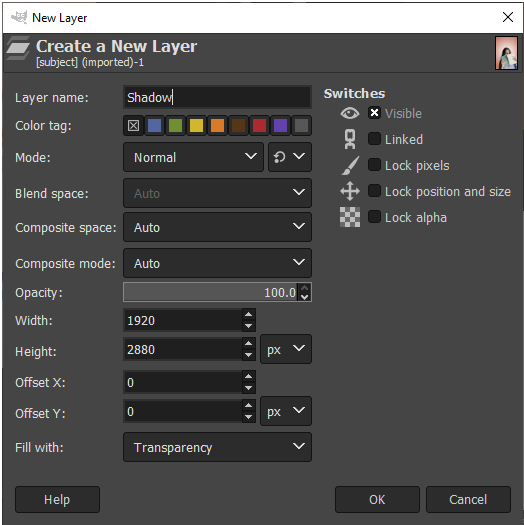
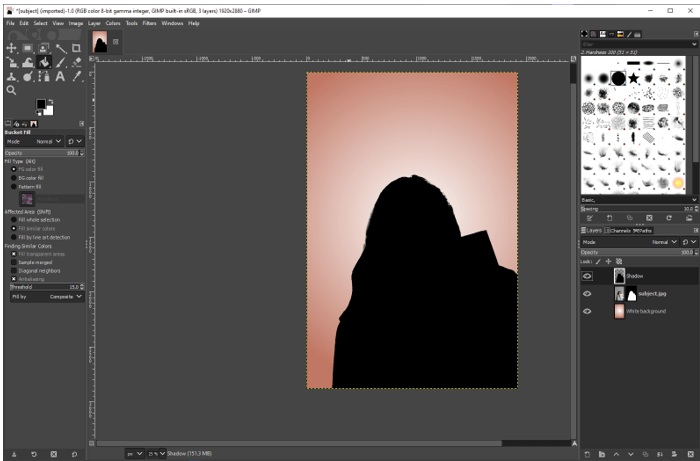
Step 21: Nosotros can also add together some shadows to create a realistic issue. For that get-go, we will go to the path panel and select the selection and click path to choice which will requite us the selection of the bailiwick.

Pace 22: Then create a new layer for the shadow.
Stride 23: For now bring the shadow in a higher place the principal layer and switch to the bucket fill tool or printing Shift + B and fill information technology with black while making sure that the foreground is black and and then deselect it with Ctrl + Shift + A.
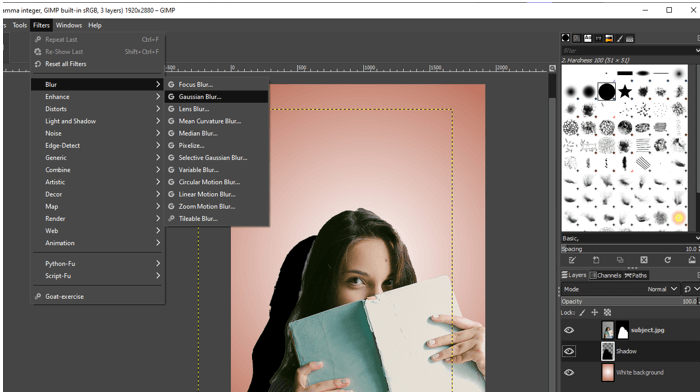
Step 24: And so use the move tool to offset it a scrap and then drag the shadow layer beneath the master layer. And so nosotros will make it look realistic using Gaussian Blur.
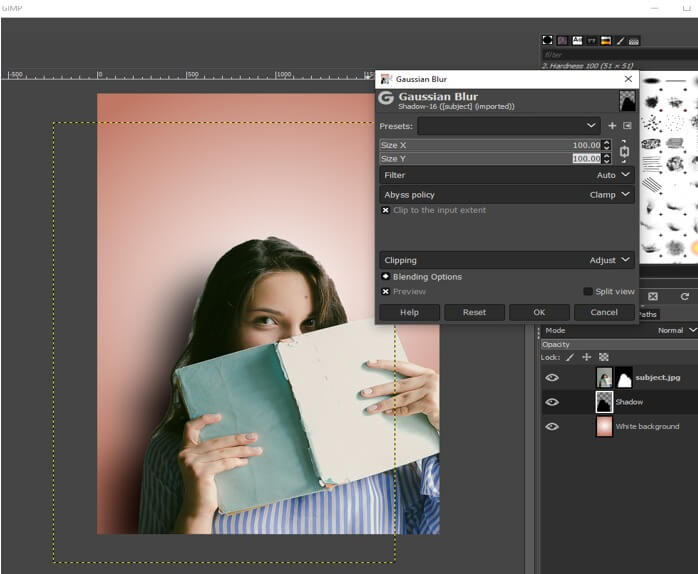
Pace 25: Set the level of blur for x and y.
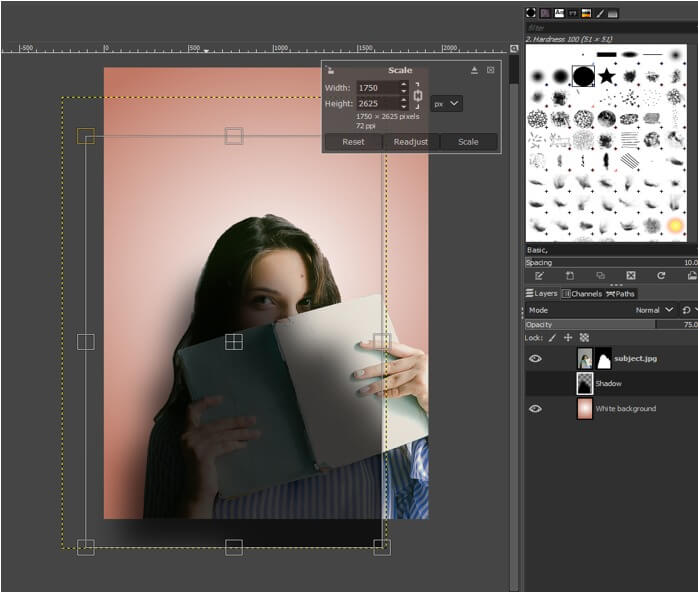
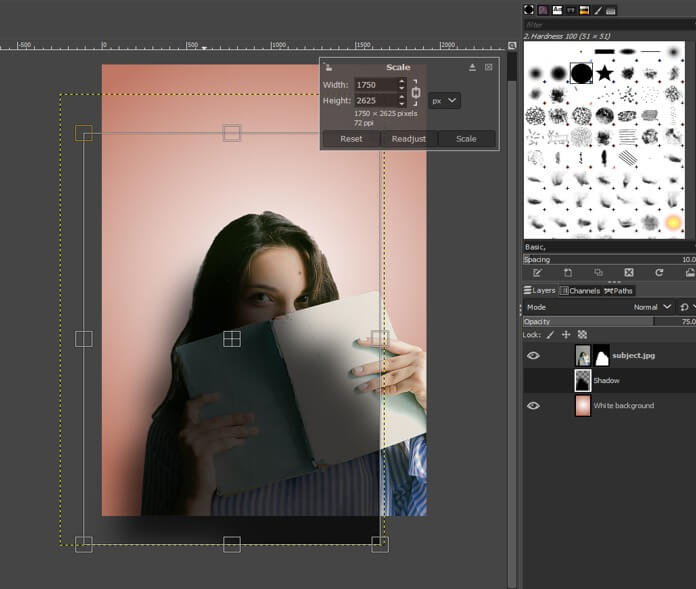
Step 26: You can besides scale the shadow to make it abroad from the discipline and decrease the opacity of the shadow layer to make it look realistic.
Footstep 27: At present we can use dodge/burn tool then that nosotros can alloy the shadows and subject. Showtime, use the burn tool on the darker sides, and then if necessary, y'all tin can use dodge tool for highlights.
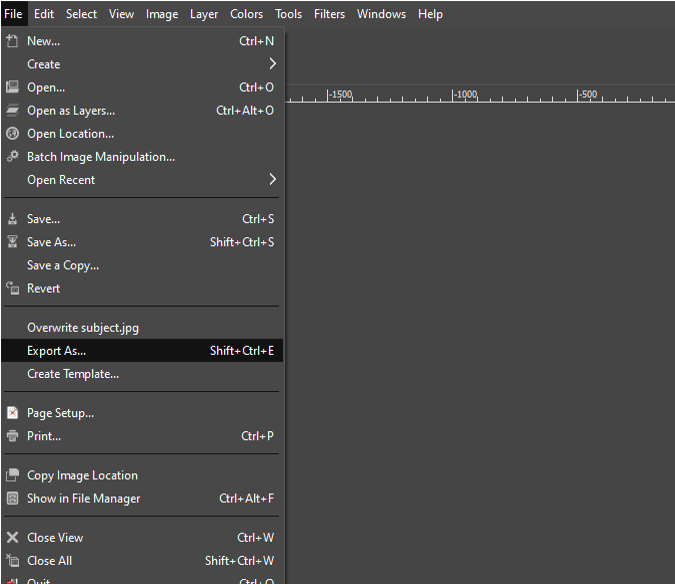
Footstep 28: At concluding consign from the file menu.
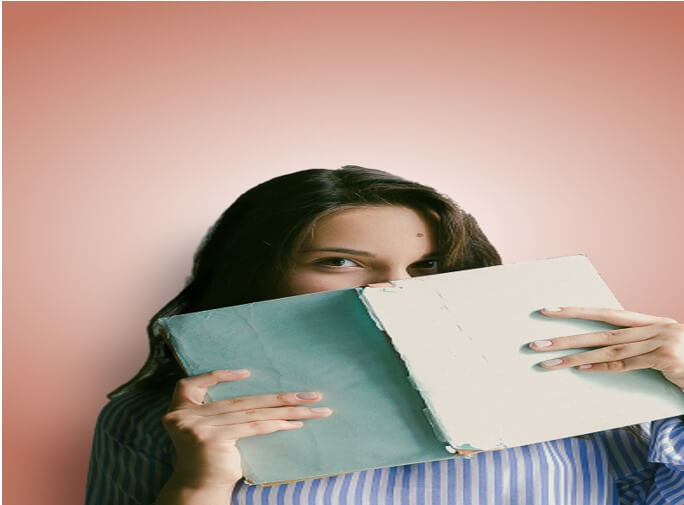
Step 29: This is the finished fine art which tin be plain improved further only the technique will remain the same.
Conclusion
In this commodity, we have learned how we change background colour in GIMP. Firstly, we take seen how to use the foreground select tool to select the subject then we take seen masking and and so changing the groundwork which is the basic steps autonomously from that you lot can add together shadow and some more finesse by blurring to go a realistic alloy of the subject with the background.
Recommended Manufactures
This is a guide to GIMP Modify Background Color. Here we discuss the introduction and various steps to apply GIMP Change Background Color. You can also become through our other related articles to learn more –
- Alter Background Color in Illustrator
- How to Modify Artboard Size in Illustrator?
- Templates in Photoshop
- Photoshop Dominicus Effect
Source: https://www.educba.com/gimp-change-background-color/
Posted by: thomasscat1962.blogspot.com
0 Response to "How To Change The Background Color On Gimp"
Post a Comment